dHow to turn a freezer into a kegerator can be a fast and easy option if you don’t have the cash to buy the best kegerator for homebrewing. If you’re a homebrewer and want to convert your freezer into a kegerator to accommodate a homebrew keg, keep in mind that these kegs are typically twenty-four inches tall and nine inches wide. Knowing this, you can determine how many kegs you’ll be able to store. You should also take into consideration the type and size of CO2 tank you plan on using.
Getting Started
Before you get started, make a list of all the supplies you need, come up with a budget, and stick to it. Freezers don’t come cheap, so if you’re a newbie, look for a used model that won’t hit your wallet too hard.
Once you’ve purchased a freezer, you’ll need to CO2 manifold to supply CO2 to each of the kegs. This is actually easy to add to any type of keg system using a CO2 regulator.
Single body regulators can supply CO2, but a double body model is a better choice if you need to run a couple of different pressures if you have two different types of beer stored.
You can search online and find faucet kits and purchase as brewing kits as you have kegs in the freezer.
Next, you’ll need a digital temperature controller. A digital model will make it easy to dial in precise temperatures. It can also prevent the freezer from freezing your beer.
Supplies
- Faucet kit
- Chest freezer
- Draft system
- CO2 cylinder
- CO2 distributor
- Temperature controller
- Wire cutters
- Drill
- Multimeter
- Dremel
Freezer Type
Most homebrew pros recommend using a chest freezer instead of an upright freezer, simply because they look better. They’re also more energy efficient considering they open up from the top, preventing cold air from escaping.
On a chest freezer, you’ll have a choice where to put the taps. One option is to put a tower on top. This option is an easy one. The tower looks attractive and the process is simple, just drill a hole in the top of the lid. However, damaging the freezer is a major drawback here. Drilling into the lid will also instantly void the warranty.
Most homebrewers opt for a kegerator collar instead. The collar is a wooden box that extends the height of the chest freezer. With a collar, you can use it as a pinboard for all of the parts, and all without damaging the freezer itself.
With a pinboard, you’ll be able to install a drip tray, temperature controller, faucets, gas manifold, and whatever else you want.
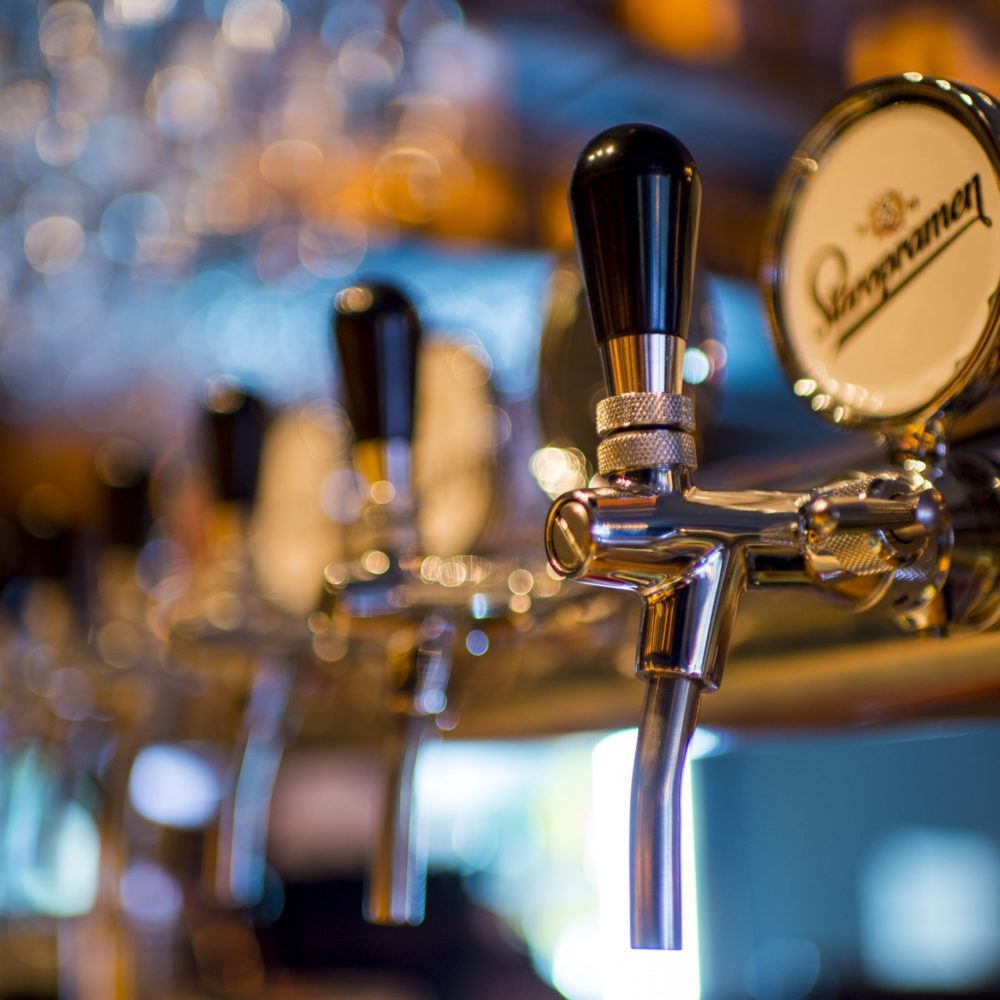
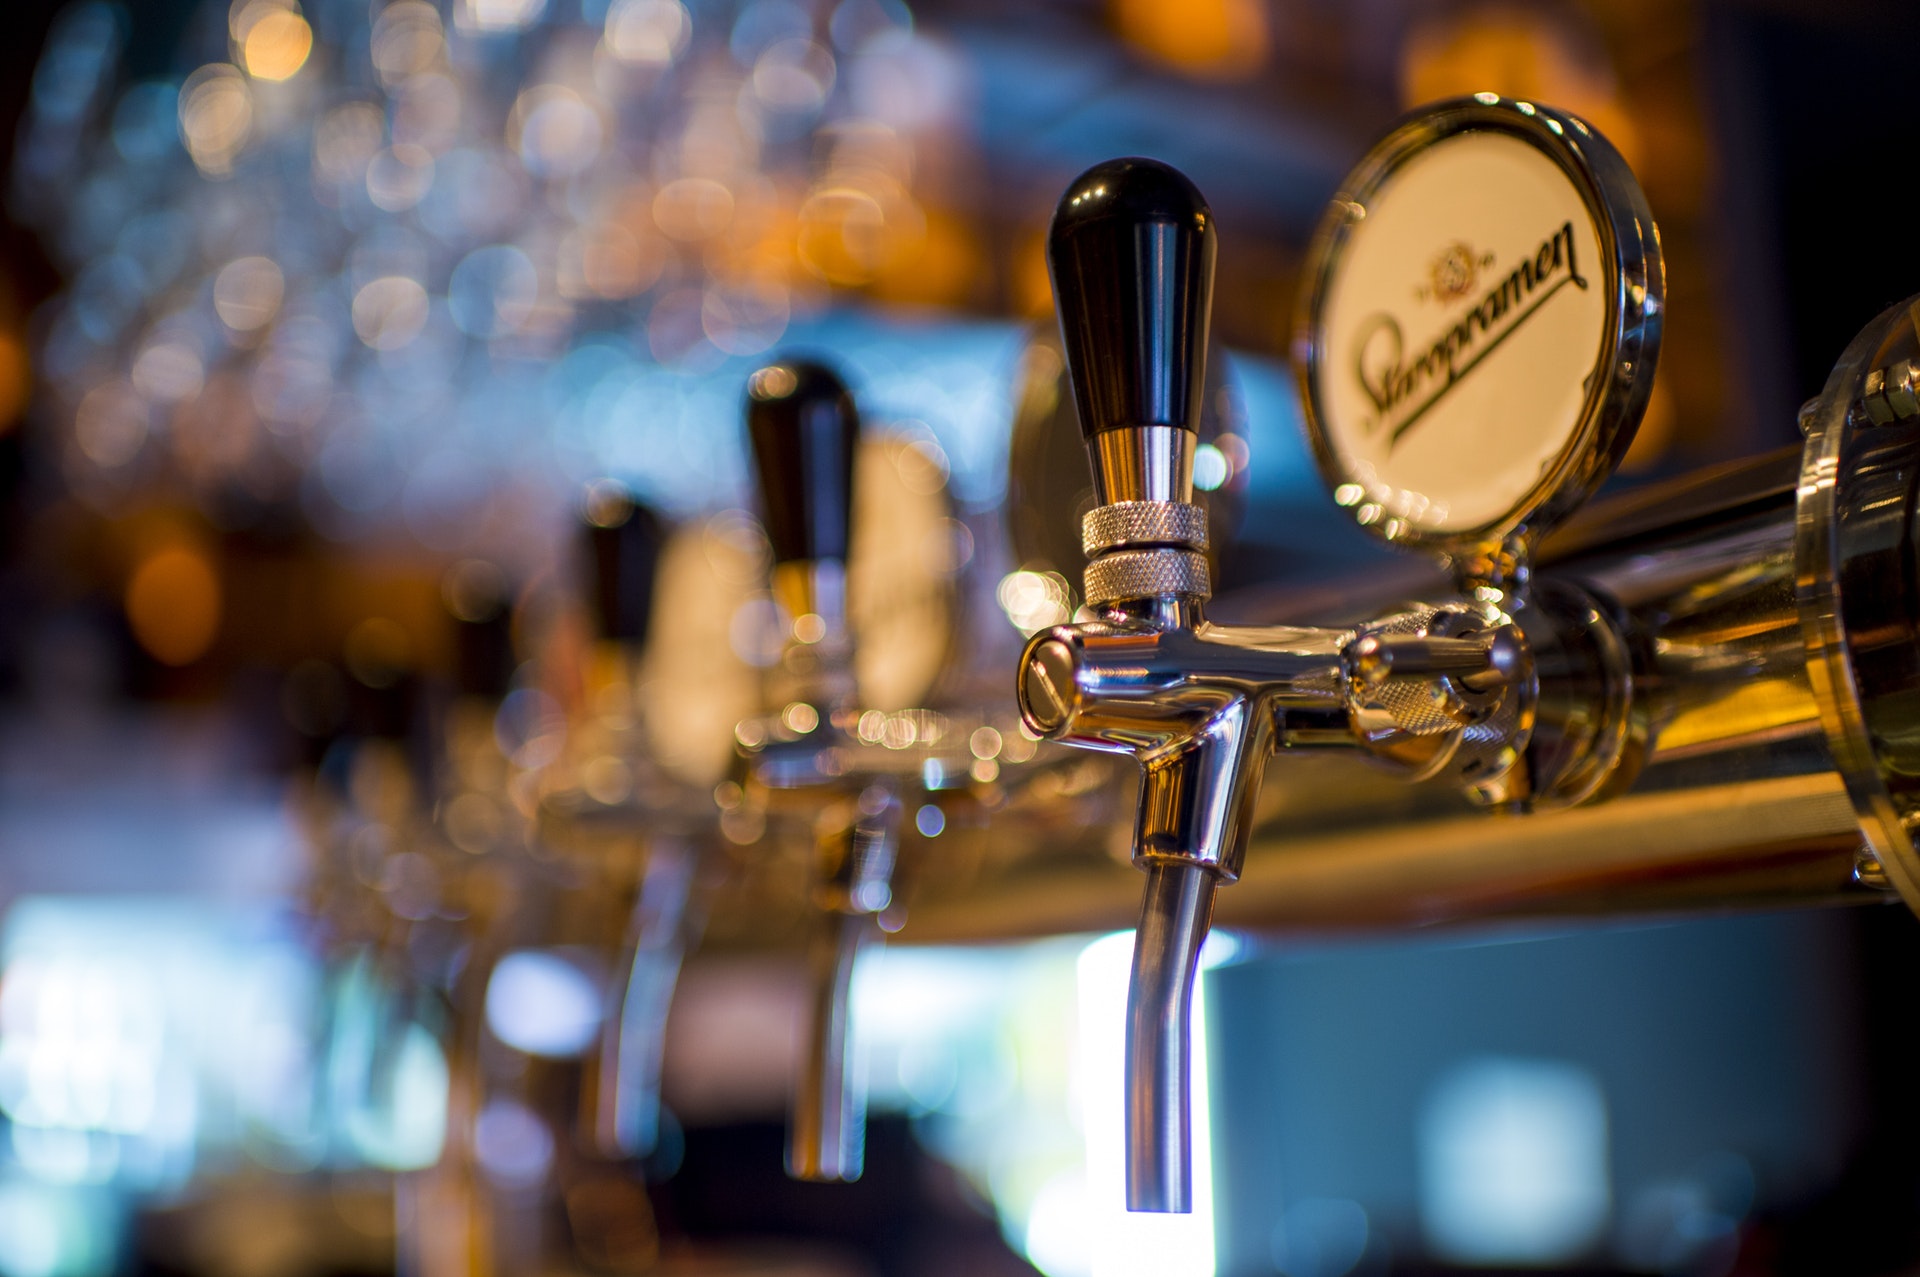
Faucet
A standard kegerator faucet is notorious for getting stuck if they’re not used daily. They also tend to gunk up easily which can have a major impact on the taste of your beer.
A perlick faucet is forward sealing, which means it will stay full of beer and you won’t have to deal with gunk buildup. However, this type of faucet is pretty expensive, yet most homebrewers think they’re worth every penny.
The faucets should be installed onto four-inch metal shanks which will connect to the beer lines via the collar.
Keg

When it comes to homebrewing most of the time you’ll deal with corny kegs. These kegs are very popular among homebrewers. The most familiar keg is the half barrel keg, also known as the Sanke.
Corny kegs are split into a couple of categories depending on how the beer and gas lines are connected: ball lock and pin lock. There are no pros or cons to each style.
Temperature Controller
You can spend twenty dollars, up to two hundred dollars on a controller. Lower priced models will be fairly basic, while higher priced controllers will give you precise control over the environment, which is what most homebrewers prefer.
Gas
For this type of setup, you’ll want to use a ten-pound tank, however, they’re pretty expensive, so you may want to use a five-pound model for now and upgrade later down the line. A regulator is another option. You can decide to supply the same amount of pressure to every keg or provide them with a specific level of pressure. If you want to control individual pressure, then you’ll need a secondary regulator. Secondary regulators provide a higher level of pressure and they allow you to control outgoing gas to each individual keg.
Manifold
A gas manifold will split the CO2 to four different kegs. This will look great mounted inside the collar. If you ever decide to upgrade to a secondary regulator, this is an easy fix.
If you want to create a smaller homebrew kegerator, you can use a smaller setup and save some serious cash. However, most homebrewers typically go much larger than a four-keg setup.
Quality
So, how long will a keg last in the kegerator? In a homebrew kegerator, it all depends on the type of beer you have brewed. Some beer can last up to four months while other types of beer can only last two to four weeks. Keep this in mind the next time you brew a large batch for this massive kegerator setup.
Models such as the Kegco Homebrew Kegerator Triple Faucet Ball Lock Keg Dispenser is designed for a three-keg setup and will cost well over twice the price of what you can expect to pay to gather all the supplies you’ll need for this four-keg setup. However, if you’re not handy in the garage and you’re concerned you may end up damaging the freezer, buying a ready-made model may be the best option.
This isn’t the type of project you can complete overnight. In fact, you may want to build your kegerator slowly, so you can upgrade components along the way. On average, this project should take a couple of weeks to complete, longer if you plan on drilling into the freezer’s lid. Once it’s complete, you’ll end up with a four-keg homebrew kegerator that’s built to last.


